
Wacaco Picopresso Review - Can you make espresso anywhere?
Tank of Coffee appreciates the rich, bold flavor of espresso and espresso-based drinks. We enjoy discovering charming coffee shops to indulge in our favorite beverage after an exhilarating ride. However, if you want to bring the delightful coffee shop experience to your home or even a camping trip. In that case, you need a compact and portable espresso maker to churn out a delicious cup of espresso.
One such device is the Wacaco Picopresso. This miniature brewer is perfect for making espresso on the go, and its affordable price point of approximately $130 makes it an excellent value for money.
We sometimes use affiliate links in our content. This won’t cost you anything extra, but if you purchase something from one of the links, we may earn some money for coffee. As an Amazon Associate, I earn from qualifying purchases.
Physical layout
As you unbox the Wacaco Picopresso, you'll notice its compact size, measuring just 2.8”x3.07”x4.17” and weighing only 350 grams, making it easy to hold in one hand. Unlike traditional espresso machines, the Picopresso has no heating elements, and the pressure is generated entirely by hand with the built-in pump.
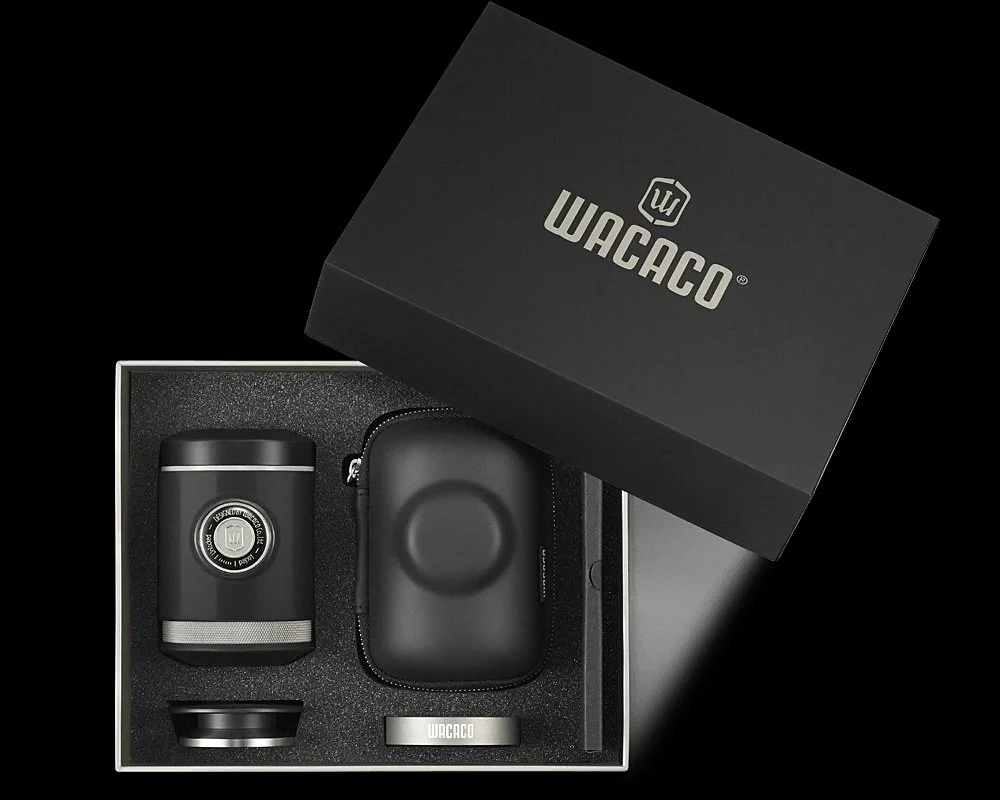
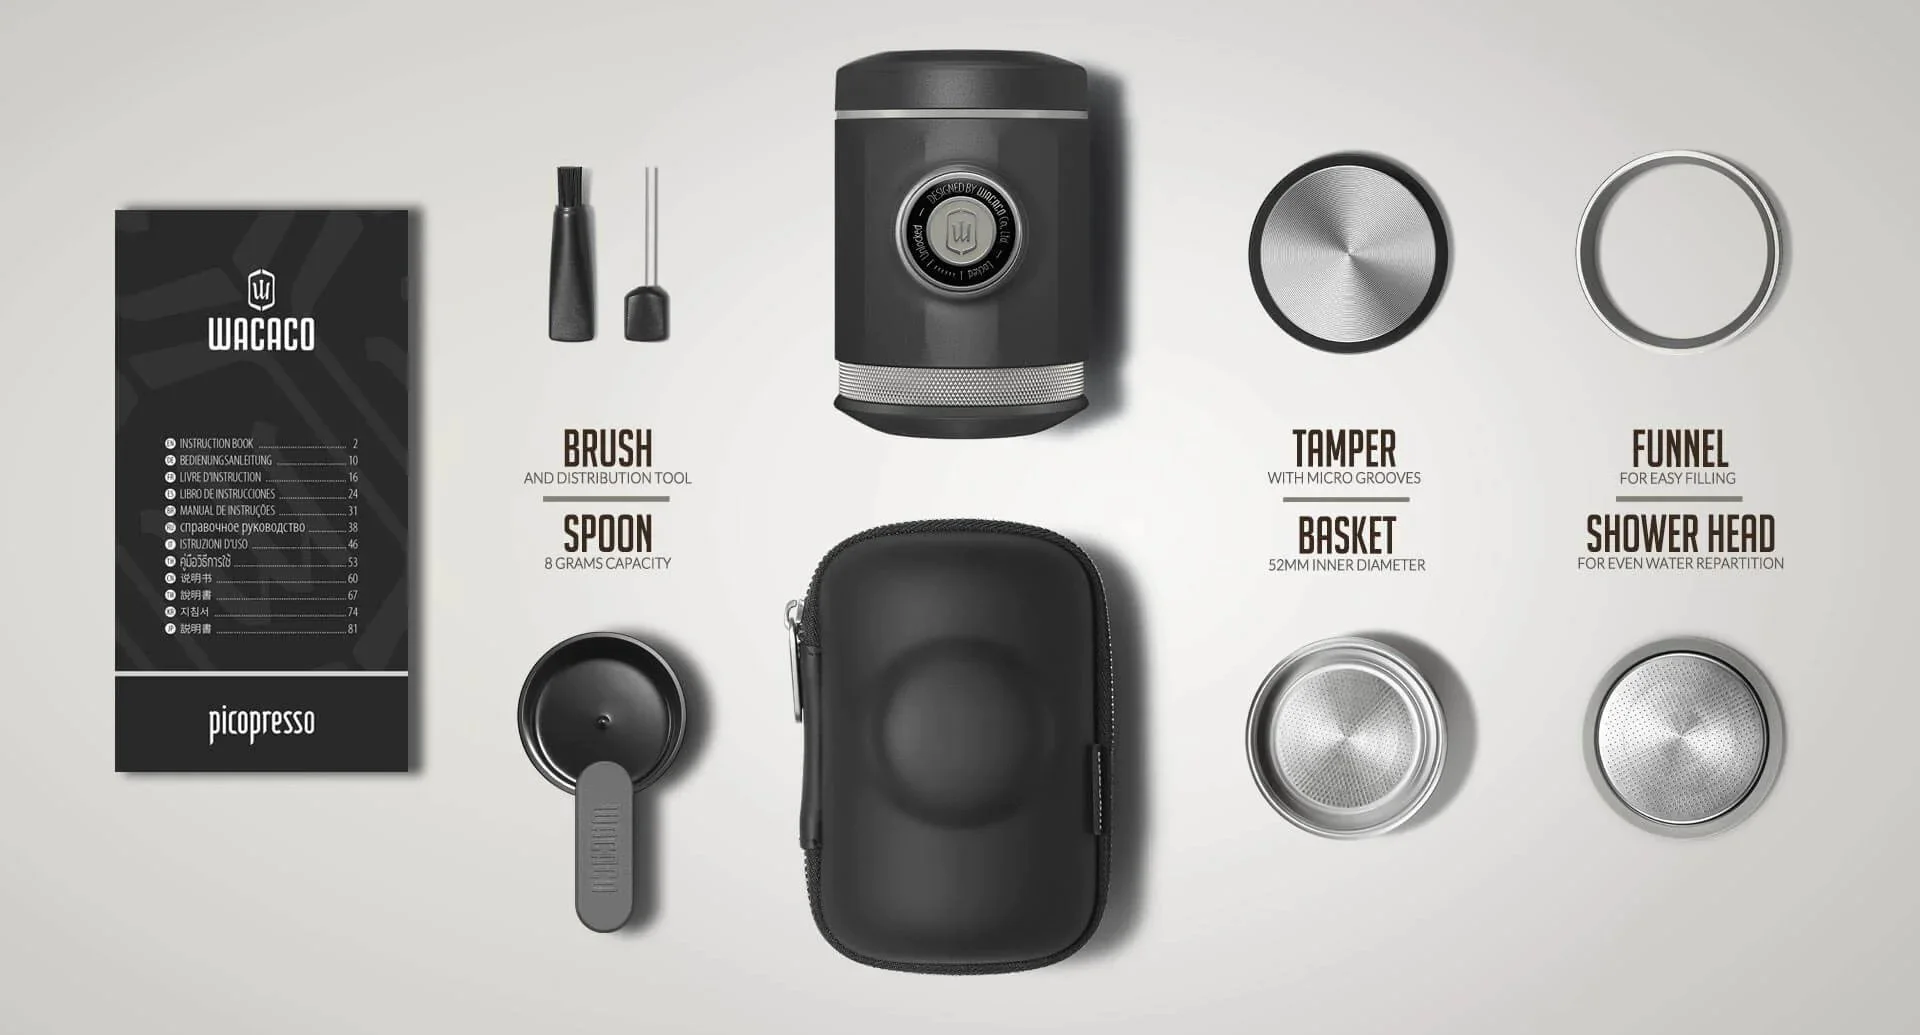
The Wacaco Picopresso comes with the unit and a case, along with a tamper and a funnel. Although these items are displayed separately in the box, they all fit neatly into one another and into the case, making it effortless to transport. Additionally, you'll find a brush for cleaning, a WSDT tool for removing clumps in the grinds, a shower filter to put over the included 52mm portafilter, a spoon to measure out coffee, and caps to enclose the brewer fully before storing it in the case. There's also an instruction booklet included in the box.
The Wacaco Picopresso’s high-quality is immediately apparent as you hold it in your hand. Although the main body is plastic, the portafilter and cap are made of metal with an excellent finish. The included tamper and funnel are also made of metal, with quality finishes on each. The plastic body contributes to the product's lightweight, but it doesn't feel like low-quality plastic over time. Furthermore, with the two-year warranty, you can be sure that any issues that arise will be taken care of.
The Wacaco Picopresso’s small size makes it easy to store at home or take on the road. If you're a fan of motocamping, this is the ideal option for brewing espresso at your campsite. Since the product has no heating elements, you'll need a kettle to heat water, and it's recommended to have a scale to measure the coffee beans accurately. However, the included scoop can provide a rough estimate if you don't have a scale. A high-quality grinder is also a perfect addition to the unit, with a hand grinder being the best option for camping and an electric grinder being ideal for home use.
Brewing
Before starting your first brew, unscrew both caps of the Wacaco Picopresso to remove the tools included inside the unit. You’ll want to set aside the WSDT tool, brush, funnel, spoon, and tamper, as they don’t need to remain in the brewer when in use.
Preheating
The instructions recommend pre-heating the Wacaco Picopresso & in my tests, I found this produced the best extraction. Boil some water, add it to the top of the unit where the pump facility is until it just covers that, and screws on the top cap. Holding the unit over a sink, unscrew the round piece on the side, which exposes the pump handle. Begin pumping to flow the water through the unit. Once all the water is through, you can begin the next step.
Grind preparation
Measure out 16-18 grams of coffee using a scale. The included spoon holds about 8 grams, so two scoops will get you in the ballpark if you don’t have a scale. Using an espresso fine grind setting, prepare the grinds. Place the basket with the funnel on the scale and zero it out. Put 16-18 grams of grinds into the basket. Use the WSDT tool (a small pin-like tool) to remove any clumps in the grinds. With the funnel still in place, use the tamper to tamp it down. I’ve found a small twisting action helps ensure even placement. The funnel is perfectly spaced, so the tamper doesn’t go too far.
Assemble the brewer
Remove the funnel from the portafilter and add the shower filter. Place the basket in the bottom screwcap of the Wacaco Picopresso. I’ve found using the included rubber funnel helpful in directing the espresso into your cup, but you can brew with an exposed portafilter if desired. Screw the endcap to the bottom of the brewer.
Brew cycle
Boil water and pour it into the top portion of the Wacaco Picopresso, as was done in the preheating step, and replace the top cap. I like placing my cup on a zeroed scale to measure the extraction. Hold the brewer with two hands above your cup and pump eight times. Wait 10 seconds for the puck to pre-infuse, and the first few drops should go into your cup. Now, pump roughly once every second and about 18-24 times until a 2:1 ratio has been extracted (36 grams if you used 18 grams of coffee). It would be best to have a cup of espresso with a nice crema.

Troubleshooting
As this is a manual brewer, your brew’s experience and quality depend on your beans’ technique, grind size, and freshness.
Beans
A high-quality bean in an espresso roast is the most significant influence. I’ve had good experience with the Coffee Bros Espresso roast. It’s best to use within a few weeks after roasting.
Grind size
You are aiming for Goldilocks here. Too fine of a grind setting will make getting the water through the puck challenging. Too large a grind setting will result in a weaker brew and little to no crema. On my Baratza grinder, I’ve found a set of 2 yielded the most consistent results.
Technique
There is no automatic pump with the Wacaco Picopresso. You provide consistent pressure with your manual pumping. Keeping a steady pumping rhythm about once every second offers the most stable pressure. If you pump too fast, it can overwhelm the seals, and you may have water come out where it is not expected. Pumping too slowly can result in a pulsing of the extraction and too long of an infusion, resulting in a more bitter brew. A few practice brews produced a consistent extraction stream and a good result.
Final thoughts
If you're searching for a cost-effective alternative to expensive fully automatic espresso machines, check out the Picopresso by Wacaco. Though it may not be as hands-free as high-end machines, its compact size makes it an attractive option for home use. With the Picopresso, you don't need a lot of counter space for a dedicated espresso machine.
Moreover, its small size makes it an excellent choice for camping enthusiasts. All the tools that come with it can be nested inside the central unit, which then fits snugly in the protective case. The unit's lightweight makes it perfect for hiking and motocamping, and it will only take up a little space if you're car camping. Since it is well-protected, you don't have to worry about tossing the case into your backpack.
For a true camping experience, pair the Picopresso with a hand grinder and your typical camp stove, and voila! You'll have your own espresso at your campsite. While a small scale can guarantee a perfect ratio each time, the included spoon and pump count can get you close if you're counting every gram or are space-limited.
Check out our article on brewing artisinal coffee at home for other options for brewers and supporting tools.
Where to buy
The Wacaco Picopresso is available with Prime overnight shipping if you are a regular Amazon user. They also offer Wacaco’s Exagrind hand grinder. This is a premium grinder, but Amazon offers many more budget-friendly offerings. Amazon has many camp stoves ranging from backpack size to car camping twin burner setups.
I’ve had good experience with the JetBoil stoves. They aren’t the smallest stove option, but as they include a kettle and everything nests within it, they make for a simple packing option. This is often more compact than separate components so that it may be a good option. My current go-to option is the MiniMo. This has a 1-liter capacity like the Flash but is shorter and wider. I find this makes it a bit easier to pack in the saddlebags of a motorcycle.
Additionally, the wider mouth makes using it for simmering easier. If you are boiling water to use with freeze-dried meals, the Zip & Flash models are good options, but check the dimensions to ensure they fit easily in your pack. Of course, you can always pair a good stove like one from Snow Peak with your kettle, pot, or frying pan options as appropriate.